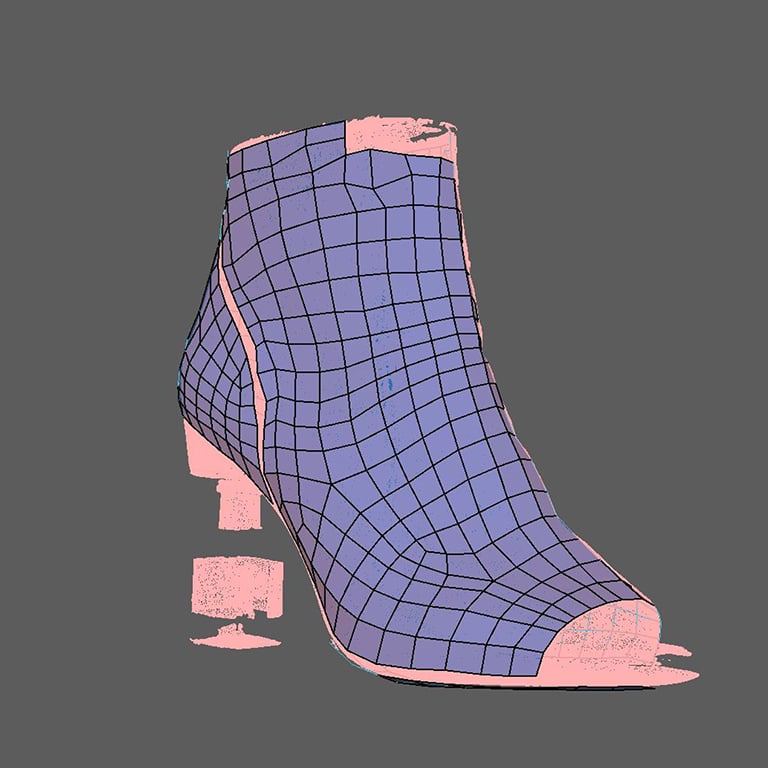
Step 1. Modeling
In order to create a digital replica of your product, it must first be transformed into its geometrical equivalent, referred to as a 3D object.
We use polygon modeling—standard for 3D in the VFX (visual FX) and Video game industry— as the basis for all our 3D modeling projects. In a nutshell, this involves creating a 3D representation of the product’s surfaces using geometric shapes, known as polygons.
We can capture the product’s surface as needed to create our initial files from a variety of sources including:
1.) CAD, STEP, or STL files
The easiest and quickest way to create a 3D model is to start with the product’s original CAD, STEP, or STL files. These files are created with parametric modeling programs like Revit, AutoCAD, or Rhino. With these programs, designers and engineers can model precise measurements of each of a product’s parts.
We can readily convert files including CAD, STEP, STL and others to create a 3D mesh that is well suited for product visualization projects.
2.) Photogrammetry
As the name implies, photogrammetry uses multiple photographs taken at various angles as the basis for capturing measurements, physical attributes, colors and other details about an object or scene.
Photogrammetry can be used for map-making, drawings, film production, and many other applications —including 3D model creation.
To create a 3D product model, hundreds of product photos are used to calculate a high-resolution point cloud of the object. From that point cloud we create a clean 3D model of the object which we ultimately will use in the final application.
3.) 3D Laser Scanning
3D Laser Scanning can also be used to capture the product’s surface in order to generate a 3D mesh. A laser scanner is typically used in conjunction with 2 sensor cameras. The laser scanner itself sends a laser line in the direction of the product to be scanned while the cameras capture and record the changing shape and distance of the laser line as it moves across the object.
The old circus trick of a man lying on a bed of nails gives a good visual for how this works. Imagine for a minute if the nails could move in the opposite direction of the man’s body as he is lying down. After standing up, the bed of nails would show a negative impression of his body. In this case, there are hundreds of nails that represent the distances captured by the laser scanner.
With a laser scanner there is only one nail so-to-speak, but in a similar manner, as it moves across an object, the varying distances from the laser to the object capture its impression.
4.) Manual Art Design Skills
The last method is just plain skill. With a trained eye for detail, one of the expertly trained 3D artists on our team can create a 3D model from scratch with the help of photos and measurements provided. From simple sketches to complex shapes, almost anything can be created by combining the right skills with the right technologies.
No matter which method is used, virtually all models require at least some personal, skilled attention in order to replicate the original real-world product. We make manual adjustments to the 3D model no matter which technology is used in order to achieve photorealistic results.
Step 2. Texturing
Texturing is the process of adding color, texture and design to the 3D model. Texturing consists of two steps: UVing and Materialing.
1.) UVing is the process of wrapping a 3D ‘skin’ on the model's surface.
2.) Materialing - Once the unwrapped skin or ‘UVs’ are created we bring the model into the texture program. We have an extensive library of texture files at our disposal to create materials perfectly suited to match your product.
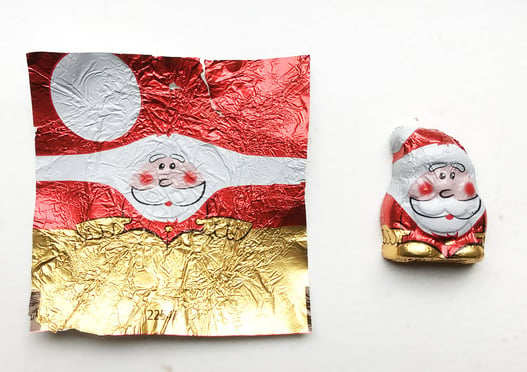
Texturing adds color, depth and design to 3D product models - much like this wrapper adds character to a chocolate santa!
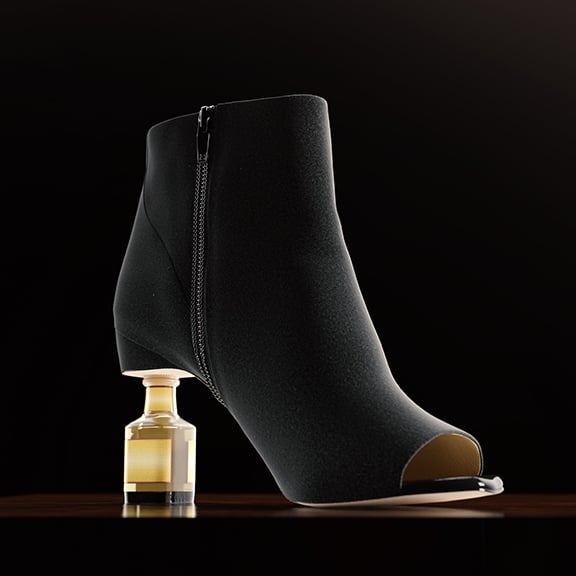
Step 3. Rendering
The final step in 3D model creation is the addition of light. Light is our playground! It is tremendously powerful in adding a sense of realism and bringing our 3D models to life.
The developers behind 3D render engines ingeniously based their rendering software around the science of how light works in the real world. We use settings similar to those used by any professional photographer including ISO, Exposure, and focal length. In the hands of our skilled artists, we can match virtually any lighting scenario and create highly realistic lighting and shadows.
Interested in learning more? You can review all our 3D product rendering services here:
3D Product rendering - Studio - Choose black, white or other solid color background of your choice.
3D Product rendering - Placement - Place your product in a scene or environment.
3D Product rendering - Creative - Use color, style, and other visuals to 'tell your story' and amplify your brand.
3D Packaging rendering - Visualize your new product or update a tired look!
Visit our parent company, Halo Media Works for 3D assets for AR/VR:
3D Assets for AR/VR